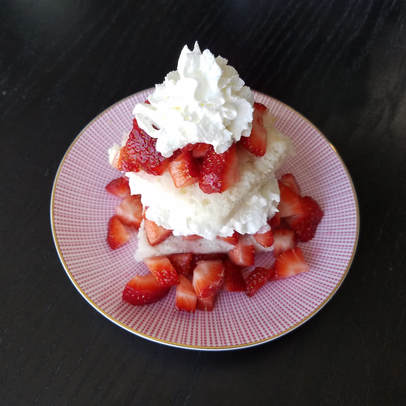
 If you're looking for the perfect dessert for Valentine's Day then look no further! This recipe is delicious! Up until recently, the only Angel Food Cake that I have eaten has been from the store. It is usually dry and has to be covered with mounds of strawberries and whipped cream for it to be worth eating. Fortunately, I stumbled across this recipe last weekend and loved it. I thought I'd share it as the perfect dessert recipe for Valentine's Day! It was soft, moist, and flavorful. Of course, I still topped mine with strawberries and whipped cream, because who wouldn't? My kids couldn't stop eating it! And... neither could I! This recipe is from My Recipes.com. A couple things to think about before making this recipe: Angel Food Cake needs a lot of eggs to get that light fluffy texture. Make sure you have at least 12 eggs to get enough egg whites. Also, don't miss the step about gently folding in the sugar mixture to the beaten egg whites. If you use your electric mixer on this part of the process you will lose that light & airy consistency of the egg whites.  Ingredients 2 1/2 cups sugar 1 1/2 cups all-purpose flour 1/4 teaspoon salt 2 1/2 cups egg whites 1 teaspoon cream of tartar 1 teaspoon vanilla extract 1 teaspoon fresh lemon juice How to Make It Step 1 Preheat oven to 375°. Line bottom and sides of a 13- x 9-inch pan with aluminum foil, allowing 2 to 3 inches to extend over sides of pan. (Do not grease pan or foil.) Sift together first 3 ingredients. Step 2 Beat egg whites and cream of tartar at high speed with a heavy-duty electric stand mixer until stiff peaks form. Gradually fold in sugar mixture, 1/3 cup at a time, folding just until blended after each addition. Fold in vanilla and lemon juice. Spoon batter into prepared pan. (Pan will be very full. The batter will reach almost to the top of the pan.) Step 3 Bake at 375° on an oven rack one-third up from bottom of oven 30 to 35 minutes or until a wooden pick inserted in center of cake comes out clean. Invert cake onto a lightly greased wire rack; let cool, with pan over cake, 1 hour or until completely cool. Remove pan; peel foil off cake. Transfer cake to a serving platter. Spread Lemon-Cream Cheese Frosting evenly over top of cake. Garnish, if desired. You may also bake this in an ungreased angel food cake pan for 30 to 35 minutes or in 3 ungreased (9-inch) round pans for 15 to 18 minutes or until a wooden pick inserted in center comes out clean. For a topping, I simply combined freshly diced strawberries and about a tablespoon or two of sugar. I let it sit long enough for the mixture to form a strawberry syrup. Then I cut my Angel Food Cake in half and placed strawberries and whipped cream in between the two halves and on the top as well! If you are looking for more of a strawberry sauce, I found this one below that looked good!
1 Comment
I have never made Gingerbread cookies before and I decided that this year was the year to start! Most of my yummy recipes that I LOVE come from Williams-Sonoma and that is where I found this one! These cookies are exactly what I wanted them to be. The dough is easy to work with, the cookies were soft & flavorful and the kids had a blast making them! 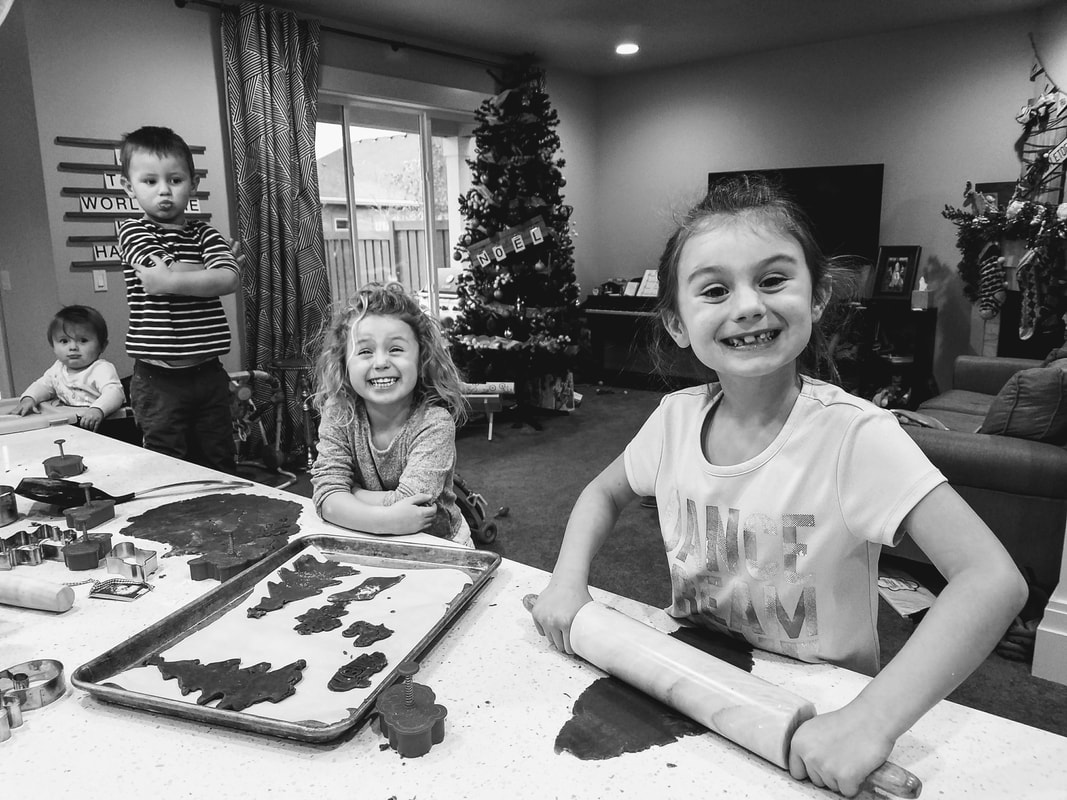 A couple things to keep in mind... The cookie dough needs at least 2 hours in the refrigerator before you can roll them out! I started making mine on a Sunday evening hoping to make the cookies that night and saw that direction a little late! The great thing about this cookie dough is that you can make it ahead of time and keep the dough in the refrigerator until you're ready to make them. Also, make sure that you don't roll your dough out too thin and check on the cookies at 8 minutes! Both of these tips will ensure that your cookies are perfectly cooked! 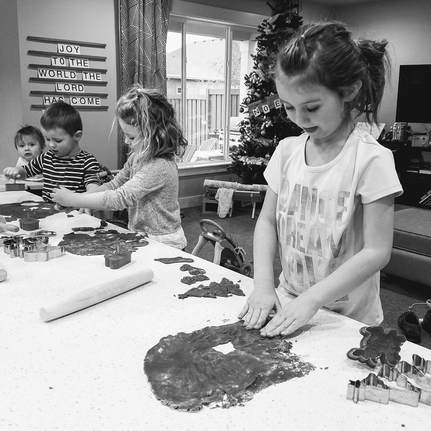 Ingredients:
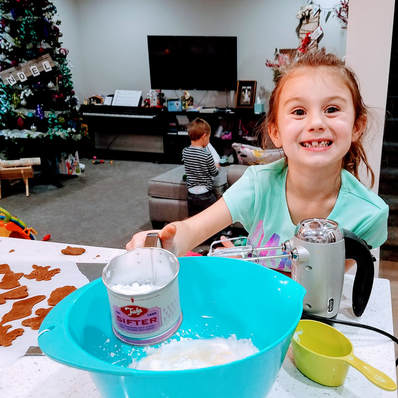 Directions: In a large bowl, using an electric mixer, beat the butter on high speed until fluffy and pale yellow. Add the brown sugar and granulated sugar and beat until the mixture is no longer gritty when rubbed between your finger and thumb. Reduce the speed to low and gradually beat in the molasses. Add the egg and beat until the mixture is blended. Sift the flour, baking soda, ginger, cinnamon, cloves and salt together onto a sheet of waxed paper. Gradually add the flour mixture to the butter mixture, beating on low speed or stirring with a wooden spoon until well blended. Turn the dough out onto a floured work surface and, with floured hands, form into a large, smooth mound. Divide the dough into 4 equal portions, shape into disks and wrap each disk in plastic wrap. Refrigerate for at least 2 hours or up to 2 days. Preheat an oven to 400°F. Lightly grease 2 baking sheets or line them with parchment paper. Working with 1 disk at a time, roll out the dough between 2 sheets of waxed paper to a thickness of about 1/4 inch. Using gingerbread cookie cutters 3 to 5 inches tall, cut out figures. Using an offset spatula, transfer the cookies to a prepared baking sheet. Repeat with the remaining dough portions, then gather up the scraps and reroll them. If the scraps of dough have become sticky, refrigerate them for 10 minutes before rerolling. For best results, do not roll the same piece of dough more than twice. Bake the gingerbread figures until lightly browned on the bottom, about 6 minutes. Let cool on the sheets for 5 minutes, then transfer the cookies to wire racks and let cool completely. Dress up the cooled gingerbread figures with the royal icing, sugars and other decorations. Makes 2 to 5 dozen cookies, depending on size. Adapted from The Williams-Sonoma Baking Book, Edited by Chuck Williams (Oxmoor House, 2009). 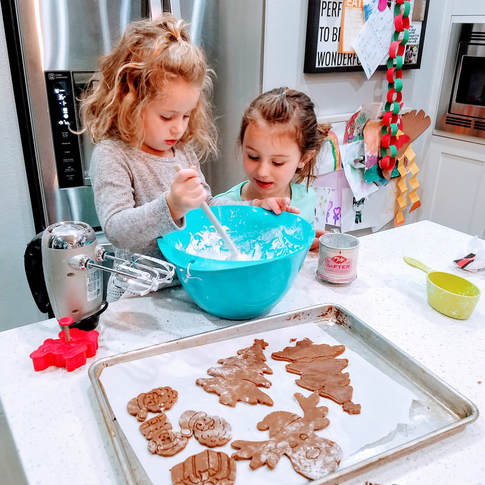 I would love to say that I have a beautiful picture of finished decorated cookies, but we ate them all before we really even got the icing on! I hope you enjoy this recipe as much as we did! For your convenience I have the recipe below in a more printable format. Ingredients:
In a large bowl, using an electric mixer, beat the butter on high speed until fluffy and pale yellow. Add the brown sugar and granulated sugar and beat until the mixture is no longer gritty when rubbed between your finger and thumb. Reduce the speed to low and gradually beat in the molasses. Add the egg and beat until the mixture is blended. Sift the flour, baking soda, ginger, cinnamon, cloves and salt together onto a sheet of waxed paper. Gradually add the flour mixture to the butter mixture, beating on low speed or stirring with a wooden spoon until well blended. Turn the dough out onto a floured work surface and, with floured hands, form into a large, smooth mound. Divide the dough into 4 equal portions, shape into disks and wrap each disk in plastic wrap. Refrigerate for at least 2 hours or up to 2 days. Preheat an oven to 400°F. Lightly grease 2 baking sheets or line them with parchment paper. Working with 1 disk at a time, roll out the dough between 2 sheets of waxed paper to a thickness of about 1/4 inch. Using gingerbread cookie cutters 3 to 5 inches tall, cut out figures. Using an offset spatula, transfer the cookies to a prepared baking sheet. Repeat with the remaining dough portions, then gather up the scraps and reroll them. If the scraps of dough have become sticky, refrigerate them for 10 minutes before rerolling. For best results, do not roll the same piece of dough more than twice. Bake the gingerbread figures until lightly browned on the bottom, about 6 minutes. Let cool on the sheets for 5 minutes, then transfer the cookies to wire racks and let cool completely. Dress up the cooled gingerbread figures with the royal icing, sugars and other decorations. Makes 2 to 5 dozen cookies, depending on size. Adapted from The Williams-Sonoma Baking Book, Edited by Chuck Williams (Oxmoor House, 2009). Here I hope to share fantastic recipes that my family enjoys and I hope yours will too!  |
Archives
February 2018
Categories |
 RSS Feed