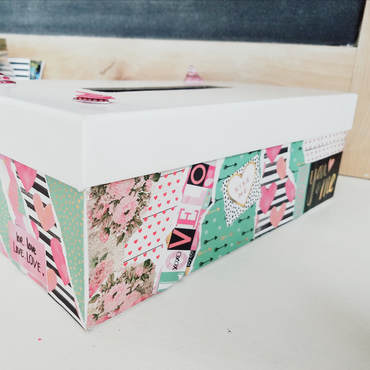
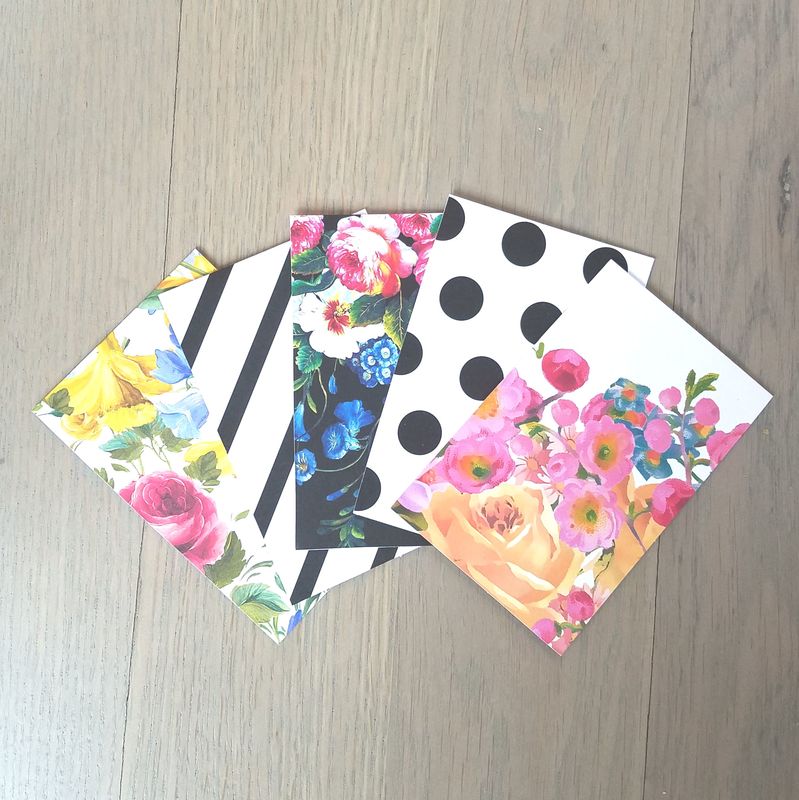
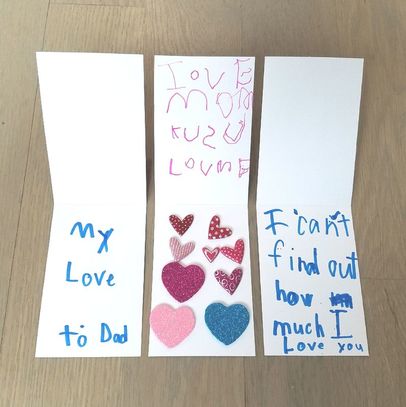
 With Valentine's Day coming up I was brainstorming with my kids on things that we could do as a family to celebrate. My sweet Halle had the idea of secretly writing notes for each other all month. I thought it was a great idea, so we decided to make cute Love Note Boxes for each person in our family to receive the notes. I bought plain boxes, but we had to make these store boxes more interesting! We bought fun paper, stickers, foam lettering, and cute phrases to put on our boxes with Mod Podge. This activity brings me back to the days when my mom taught me and my sister how to use Mod Podge and create our own unique boxes. For those of you who have never used Mod Podge, you can get it at most craft stores and on Amazon. It is a glue, sealer, and finisher for your project. You apply it using a foam brush. I have mostly used it to apply decorative paper or magazine pictures onto cardboard or wooden boxes, but the number of projects you can use it for are endless. Mod Podge is fun to work with because, when it dries, it leaves a clear, beautiful, hard finish on your project. The Matte and Gloss finishes are the most commonly used, but there are a number of different formulas. 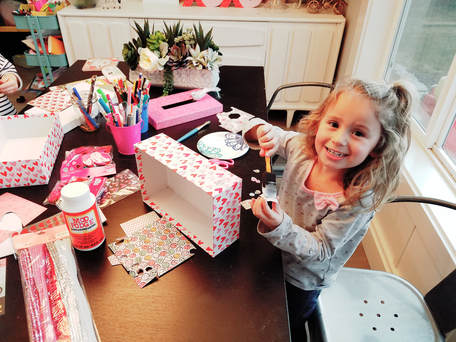 Here's What You're Gonna Need: Pre-cut card board boxes Mod Podge Heart Stickers Foam Wording Decorative paper Magazine Clippings Foam paint brushes Scissors Table covering 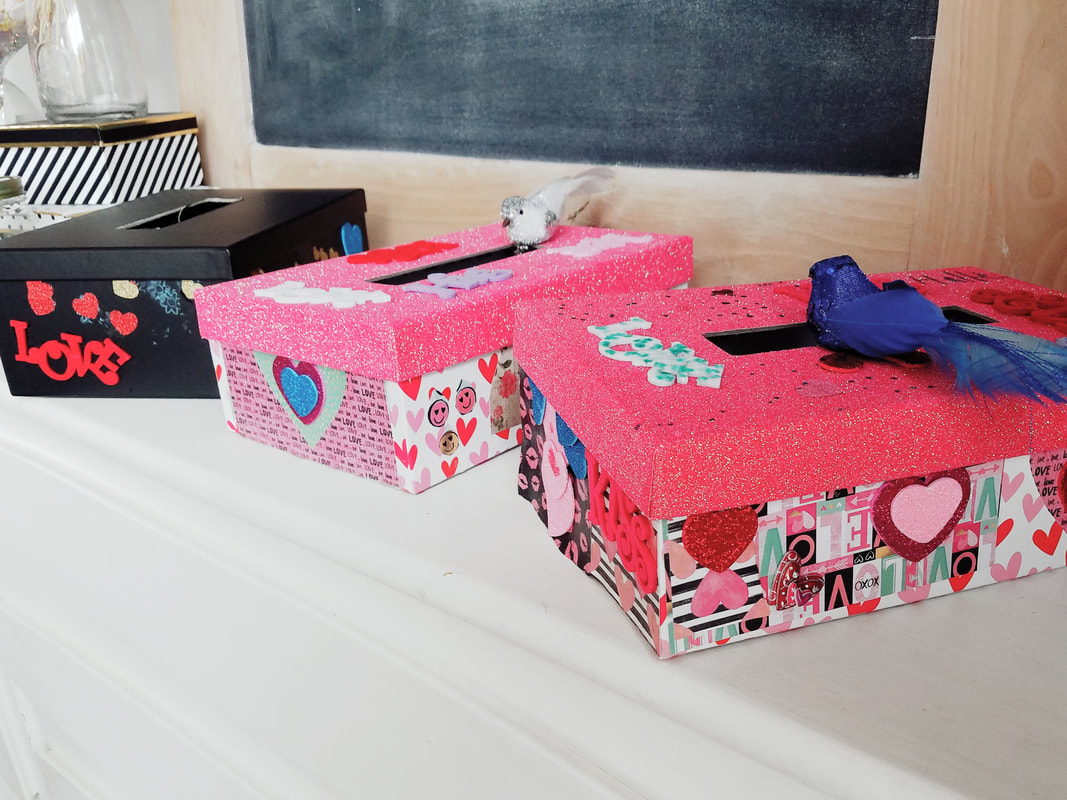 Tips for the Love Note Boxes 1. Buy paper that has fun wording or phases. They make good transitions between the different patterns. 2. To get a really fun look you can tear the paper leaving the exposed edges to give it texture. 3. You don't have to glue your papers in straight lines. 4. Layer your papers to add interest. 5. Make sure that you have something to cover your table, because it can get a little messy. 6. If you do get it on your table, use soap & water to clean it up. 7. Have some paper or magazine clippings pre-cut. This will help the kids to get started and get the hang of it. 8. Don't be afraid of putting the Mod Podge all over the paper, front and back. It dries clear! 9. I would suggested if you want it to look nice try and use nice even strokes. It is clear but you can sometimes still see lines. (For my kids I just let them go for it!) 10. Get some cute note cards and cut them in half for the kids to write their notes on. They are the perfect size and it was nice to have the note cards sitting out and ready to use! 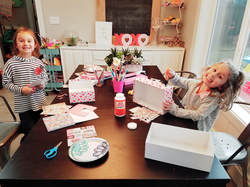 We have been doing these love notes for the past week. It has been so sweet to see each of the kids make different notes and gifts for each other. They have been looking forward to seeing if someone left something for them. The most special thing is that they have each been going out of their way to be kinder and do nice things for each other. We have loved it! These notes are priceless!!!
0 Comments
Leave a Reply. |
Archives
April 2018
Categories |
 RSS Feed